
How to Revive a Dying Plant: A Step-by-Step Rescue Guide
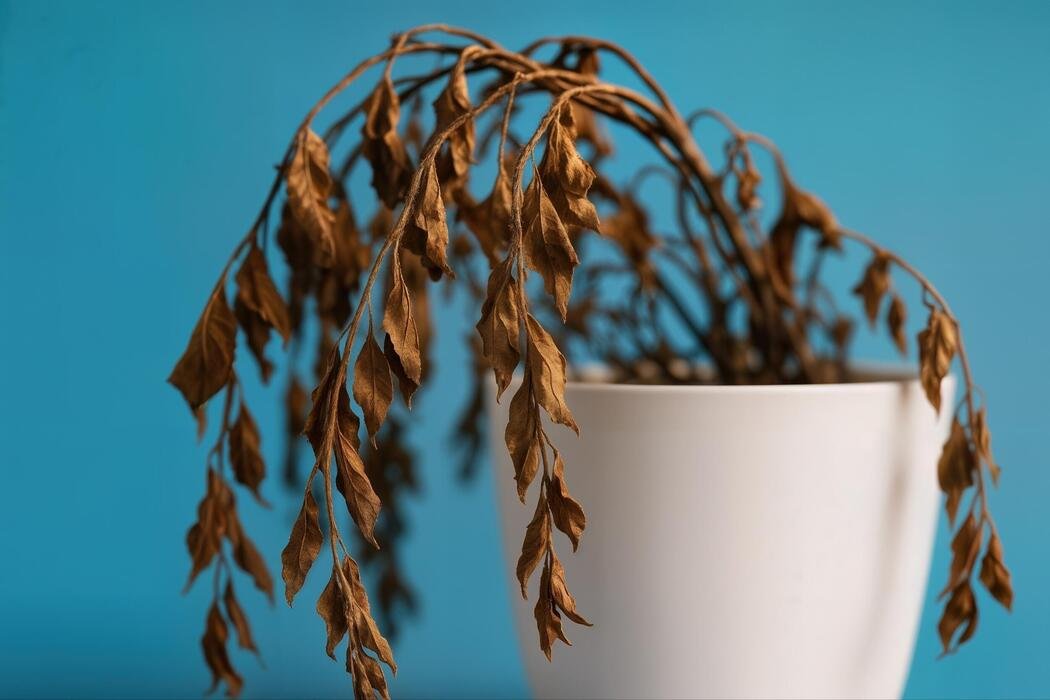
We’ve all been there: you come home from a trip, or just get busy for a few weeks, and your plant looks like it gave up on life. Brown crispy leaves, drooping stems, soil like concrete. Before you toss it in the bin, read this — because if you want to know how to revive a dying plant, the answer is encouraging: most “dying” plants aren’t dead at all. They’re stressed, thirsty, or drowning, and a surprising number bounce back with the right rescue routine.
This guide walks you through a proven 9-step rescue process, shows you how to tell when a plant is truly beyond saving, and covers the home remedies that actually help (and the ones that are myths). No special equipment needed — just scissors, fresh soil, and a little patience.
First: Is Your Plant Actually Dying?
Plants are dramatic. A completely wilted plant can look dead while its roots are perfectly fine. Before you start the rescue, run these two quick tests:
- The scratch test. Gently scratch the bark of a stem with your fingernail. Green and moist underneath? There’s life. Brown and dry all the way through? That stem is gone — but check the base; the roots may still be alive.
- The bend test. Bend a stem gently. If it’s flexible, it’s alive. If it snaps like a dry twig, that part is dead.
If you find any green — in stems, at the crown (where stems meet roots), or in the roots themselves — your plant is a rescue candidate. Even a plant with zero leaves can regrow from a living root system. Only when everything is brown, brittle, and dry down to the roots is it truly over.
How to Revive a Dying Plant: The 9-Step Rescue Routine
Work through these steps in order. Each one builds on the last, and skipping ahead (like repotting before trimming) makes the job harder.
Step 1 — Assess the Damage
Take the plant to a sink or table with good light. Look at the whole picture: Are the leaves crispy (underwatered) or yellow and mushy (overwatered)? Is the soil bone-dry and pulling from the pot edges, or soggy and smelly? Your diagnosis decides everything that follows. If you’re not sure whether water is the problem, our overwatered vs underwatered guide will help you tell the difference in under a minute.
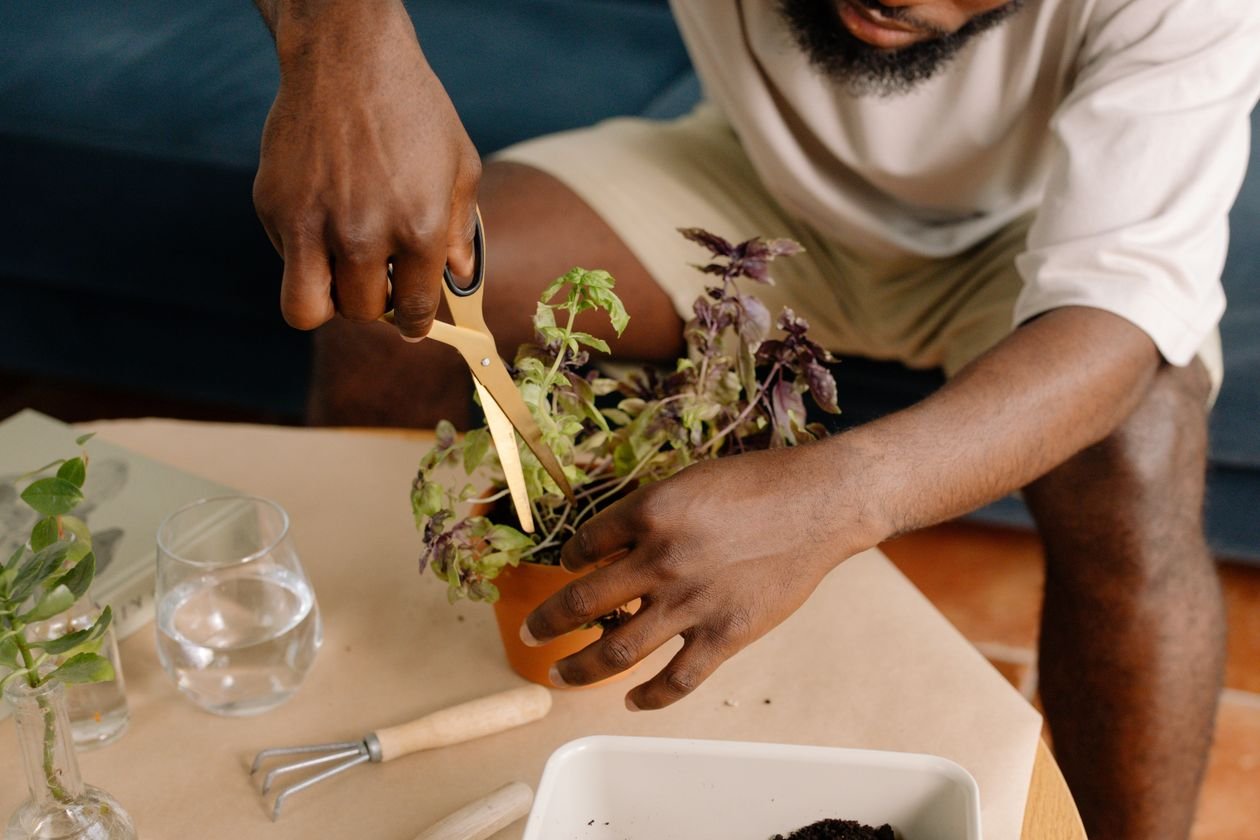
Step 2 — Trim Away Everything Dead
Dead foliage will never recover, and leaving it on invites mold and pests. Using clean, sharp scissors or pruning shears:
- Cut off all brown, crispy, or completely yellow leaves at the stem.
- Trim dead stems back to where you see green, living tissue.
- Remove any dead leaves sitting on the soil surface.
The Royal Horticultural Society advises cutting off “mouldy, shrivelled, completely brown or completely yellow leaves” since they won’t recover — but keeping leaves that are still mostly green, because the plant needs them to photosynthesize its way back. Wipe your blades with rubbing alcohol between cuts if you suspect any disease.
Don’t be shy here. A hard prune looks brutal, but it redirects the plant’s remaining energy to the living parts. Many plants respond to a severe haircut with a flush of fresh growth.
Step 3 — Check the Roots
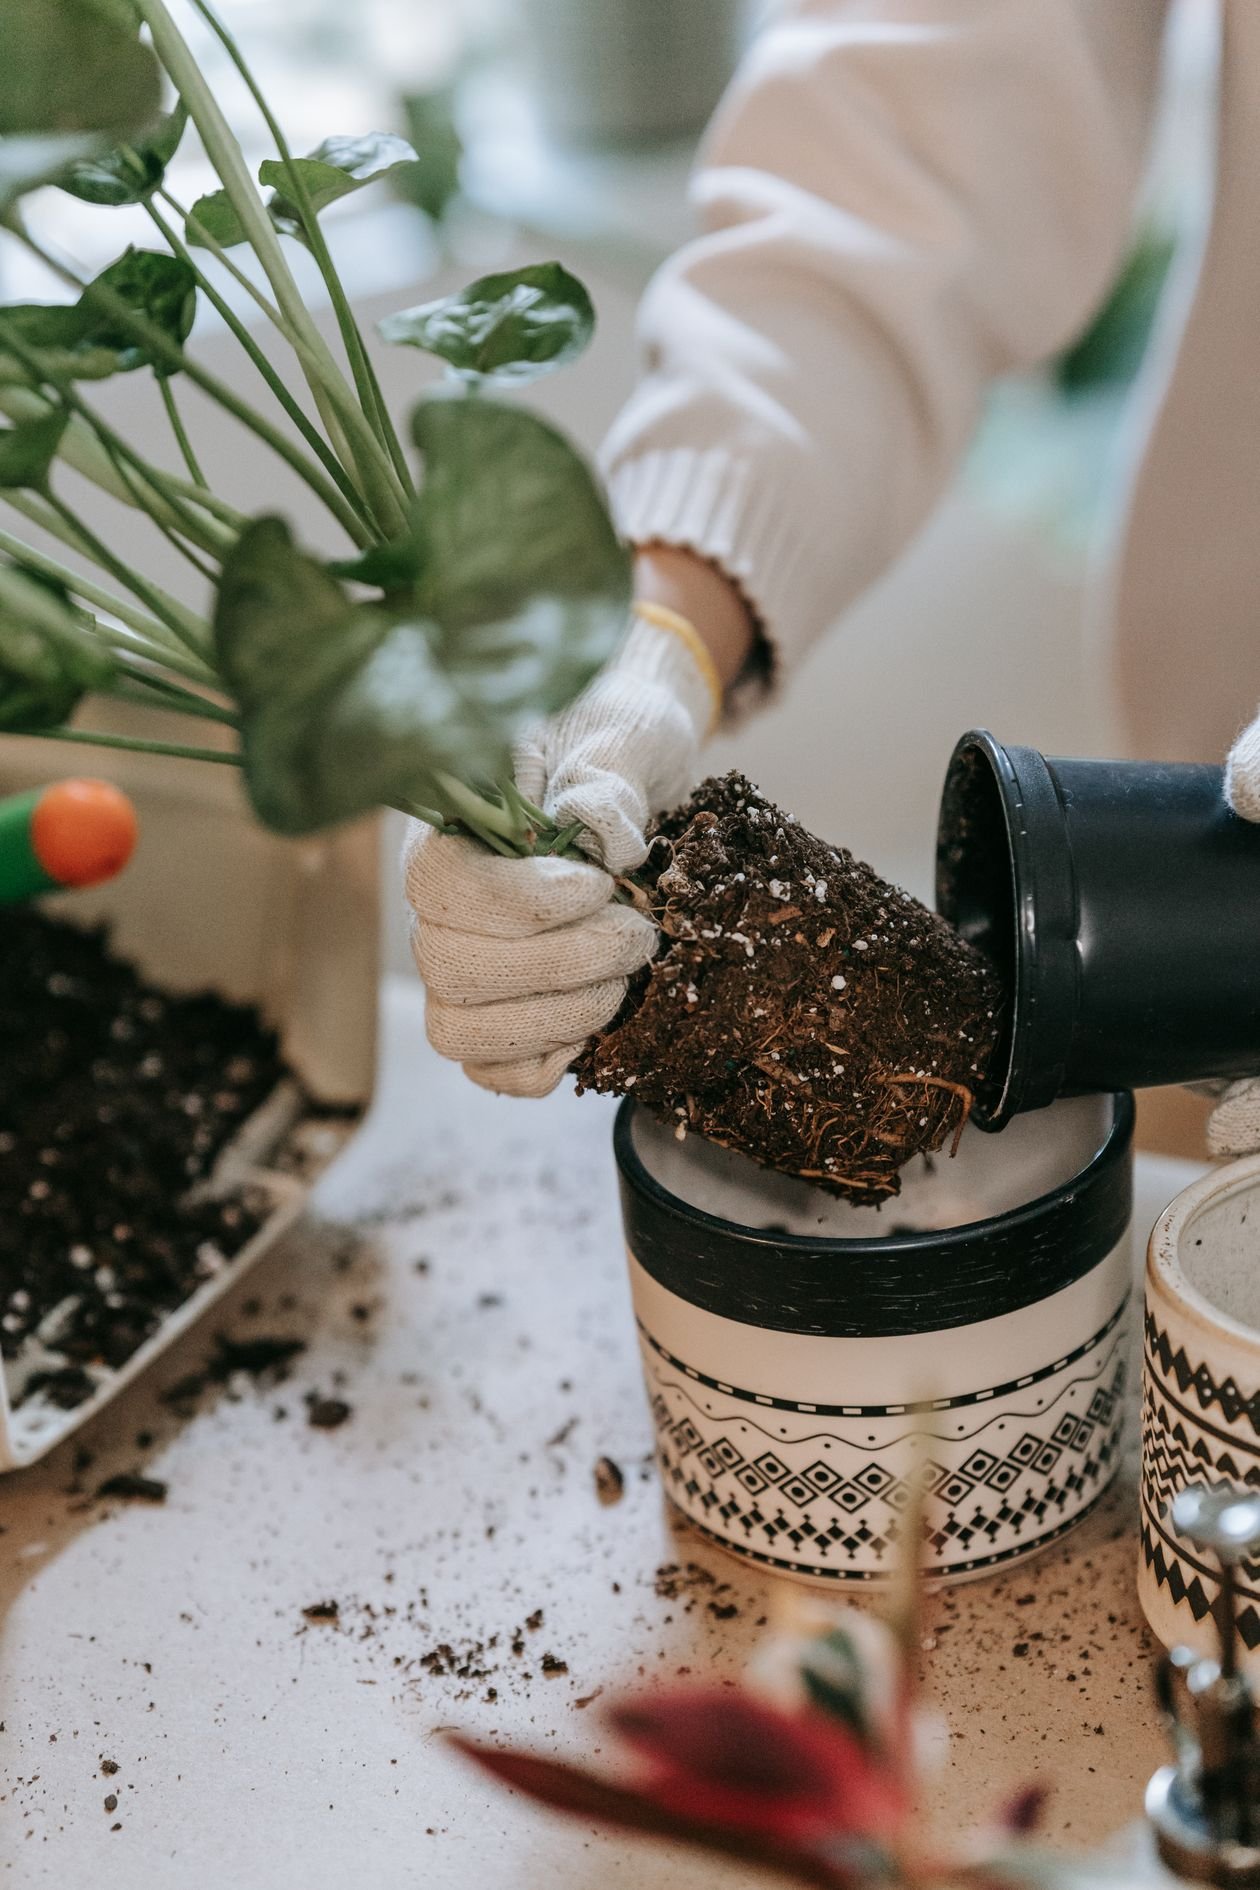
This is the step most people skip — and the most important one. Slide the plant out of its pot and look at the roots:
- White, tan, and firm → healthy. Your plant’s problem is above ground (water, light, or neglect).
- Brown, black, mushy, or smelly → root rot. This needs immediate treatment (Step 4).
- Dry, brittle, circling the pot → severely pot-bound and dehydrated. It needs water and likely a bigger pot.
Healthy roots are the foundation of every revival. If the root system is mostly alive, your odds are excellent.
Step 4 — Treat Root Rot (If You Find It)
Root rot happens when roots sit in soggy soil and fungi attack them. It’s the most common killer of houseplants — but it’s fixable if you catch it in time.
- Rinse all the old soil off the roots under lukewarm water so you can see clearly.
- With sterilized scissors, cut away every brown, mushy, or slimy root, back to firm white tissue. Be ruthless — any rot left behind keeps spreading.
- Hydrogen peroxide soak: mix 1 part standard 3% hydrogen peroxide with 2 parts water, and soak the trimmed roots for 5–10 minutes. This kills lingering pathogens and adds oxygen around the roots. The Environmental Literacy Council’s root rot treatment guide confirms this ratio is safe and effective — but never use undiluted peroxide, which damages healthy tissue.
- Let the roots air-dry for 20–30 minutes before repotting.
Step 5 — Repot in Fresh Soil
Whether or not you found rot, a struggling plant benefits enormously from fresh potting mix. Old soil compacts over time, drains poorly, and may be depleted or contaminated.
- Choose a pot with drainage holes, roughly the same size (or one size down if you removed a lot of roots).
- Use a fresh, well-draining potting mix suited to your plant — a standard mix with added perlite works for most houseplants.
- Plant at the same depth as before; burying the stem invites rot.
- Water thoroughly once after repotting so the soil settles around the roots, then let it drain completely.
Step 6 — Water Correctly (This Is Where Most Revivals Fail)
Here’s the paradox of reviving plants: they need water, but the wrong watering is what killed them in the first place. The University of Missouri Extension puts it bluntly: “Houseplants are probably killed or injured more often by improper watering than by any other single factor.”
The safe method:
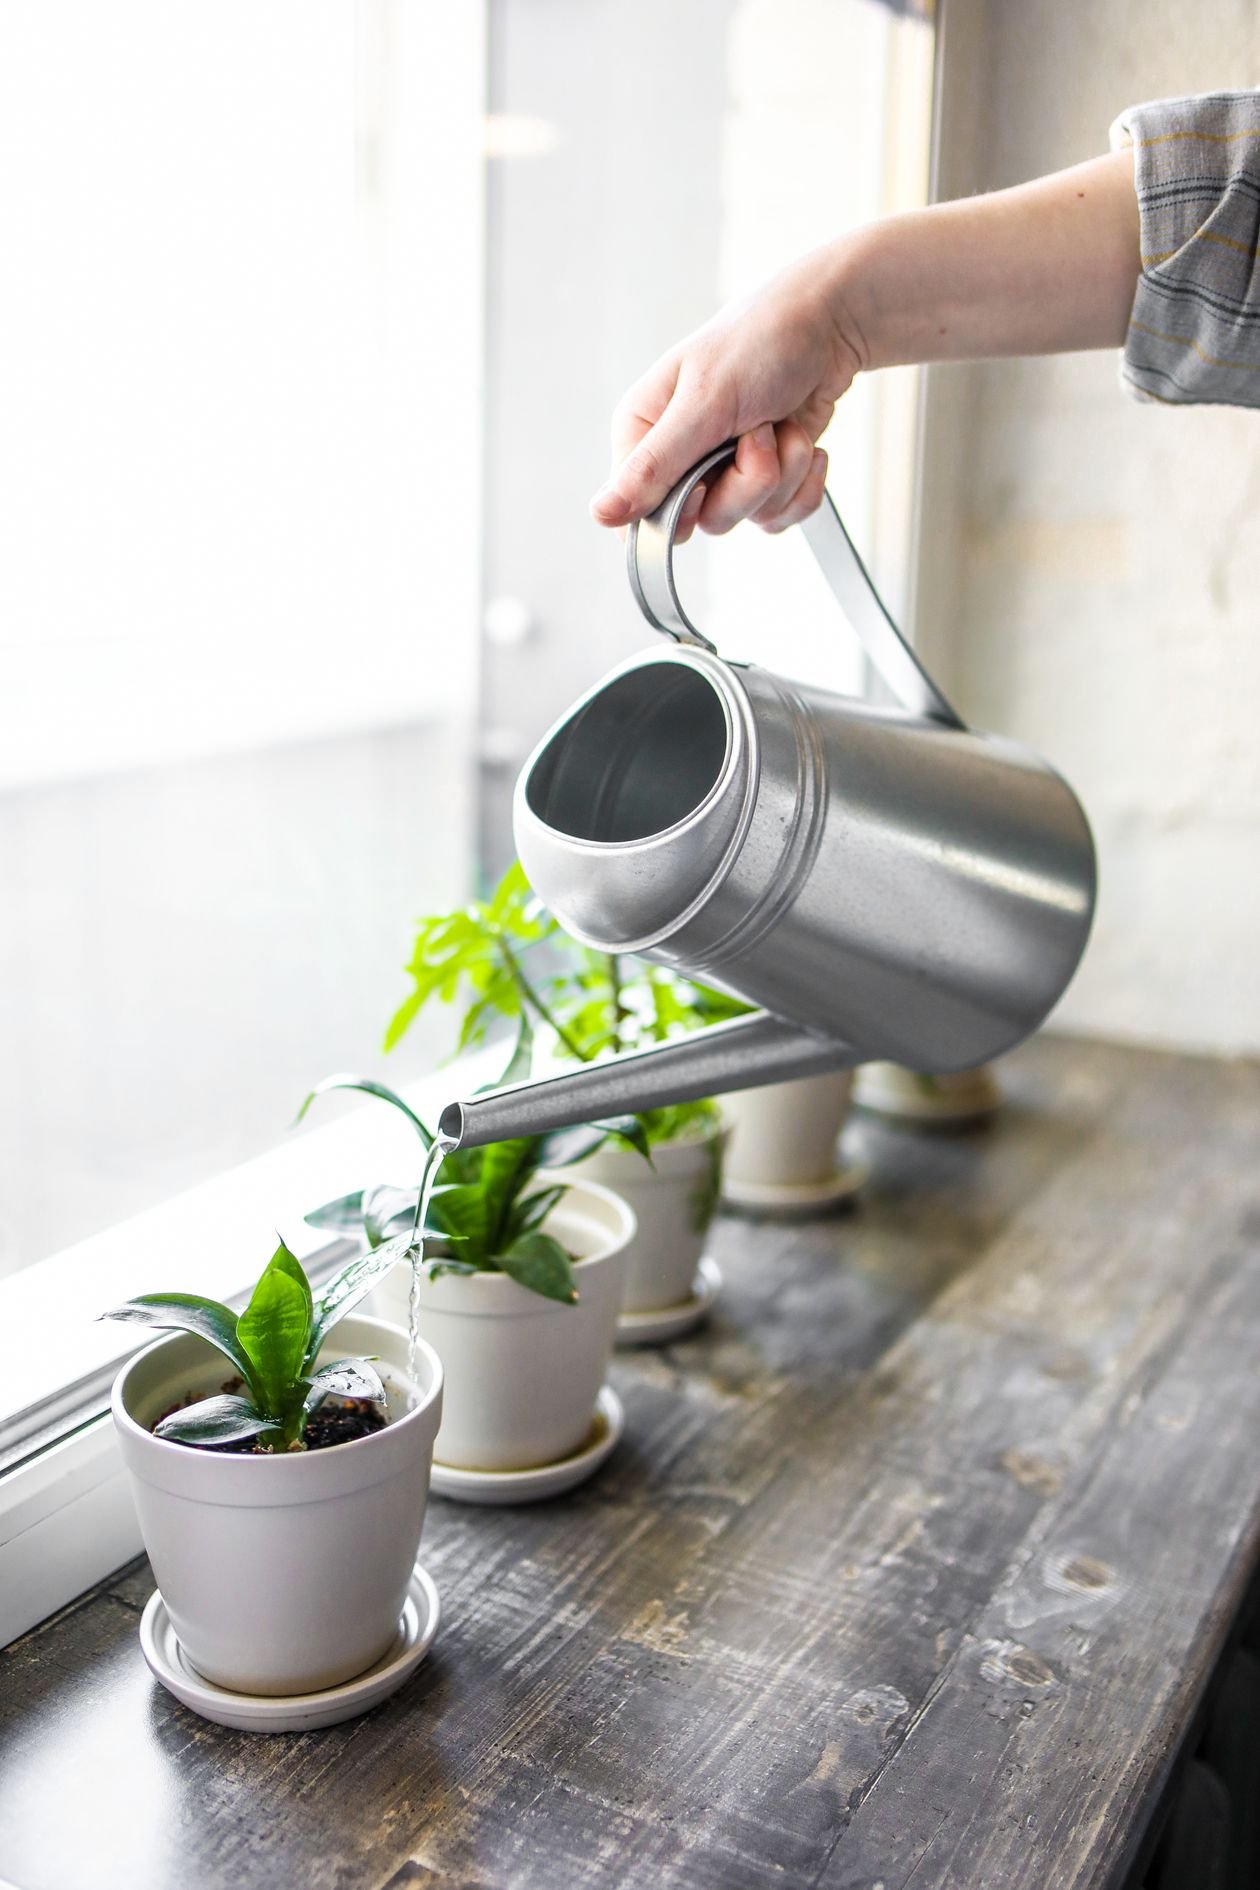
- If the plant was bone-dry: bottom-water it. Set the pot in a sink or basin with a few inches of lukewarm water for 20–30 minutes so the soil absorbs moisture evenly from below. Dry soil repels water poured on top, so this works far better than a quick splash.
- If the plant was soggy: after repotting in fresh mix, water lightly just once, then wait. Don’t water again until the top inch of soil is dry.
- Going forward, check the soil with your finger before every watering — water only when the top inch is dry.
Step 7 — Fix the Light
A recovering plant needs energy, and energy comes from light. Move it to the brightest indirect light you have — near an east or north-facing window is ideal for most houseplants. Avoid harsh direct afternoon sun for now; stressed leaves scorch easily. If the plant was in a dark corner, move it gradually over a week rather than all at once.
Step 8 — Raise Humidity, Hold the Fertilizer
Two things that help recovery, and one thing that hurts it:
- Humidity helps. Group plants together or set the pot on a tray of damp pebbles. Dry air stresses damaged leaves further.
- Fertilizer hurts — for now. This is critical: the University of Missouri Extension warns, “Never apply liquid fertilizers to a wilted plant.” Fertilizer on damaged roots causes chemical burn. Wait until you see solid new growth (usually 4–6 weeks), then start with half-strength feed.
Step 9 — Wait: The Recovery Timeline
This is the hardest step. A revived plant won’t look better tomorrow. Here’s what’s realistic:
- Days 1–7: leaves may perk up if dehydration was the issue. Don’t panic if a few more leaves drop — the plant is shedding what it can’t support.
- Weeks 2–4: look for tiny new growth at stem tips or the base. That’s your victory signal.
- Weeks 4–8: new leaves unfurl. You can resume light feeding.
- Months 2–3: the plant starts looking like itself again.
When It’s Too Late to Revive a Dying Plant
Honesty matters here: not every plant can be saved, and knowing when to stop saves you weeks of false hope. It’s over when:
- All stems are brown and brittle from base to tip — the scratch test shows no green anywhere.
- The roots are entirely mushy or gone — there’s nothing left to regrow from.
- The crown (where stems meet roots) is soft and rotted. This is the plant’s command center; once it’s gone, recovery isn’t possible.
- There’s a foul smell from deep in the root ball that persists after cleaning — advanced decay.
If your plant has reached this point, let it go — and consider it tuition. Even experienced plant people lose plants. The silver lining: you now know the rescue routine for next time, and you can propagate a fresh start from any healthy cuttings if the plant had them.
Home Remedies: What Helps and What’s Myth
The internet loves plant rescue hacks. Here’s an honest scorecard:
- Hydrogen peroxide (diluted 1:2 with water) — genuinely useful for root rot, as covered in Step 4. Evidence-backed and widely recommended.
- Bottom watering — genuinely useful for dehydrated soil. The most reliable way to rehydrate a dried-out root ball.
- Cinnamon on cut ends — mildly useful as a natural antifungal on pruning wounds. Harmless, possibly helpful.
- Sugar water — myth, mostly. Plants make their own sugar through photosynthesis; pouring sugar into soil feeds bacteria and fungi instead. It won’t revive anything and may encourage mold.
- Baking soda — not a revival remedy. It has some use against surface mildew, but it does nothing for a dying plant’s roots and can alter soil pH unfavorably.
- Ice cubes, coffee grounds, banana water — mostly myths or marginal. Stick to the fundamentals: right water, right light, fresh soil.
How to Stop This Happening Again
Every plant rescue teaches the same lesson: most plant deaths come from a small handful of preventable mistakes. Lock in these habits and you’ll rarely need the routine above:
- Learn your plant’s water language. Drooping leaves can mean thirst or drowning — they look frustratingly similar. Our guide on why plant leaves droop shows you how to tell the difference in seconds.
- Don’t ignore falling leaves. A leaf or two is normal; a shower of them is a distress signal. See why plant leaves fall off for the full diagnosis.
- When in doubt, check the soil — not the calendar. Watering “every Tuesday” kills more plants than anything else. Finger-test the soil every time.
- Repot on schedule. Most houseplants need fresh soil every 1–2 years. Compacted, exhausted soil is a slow-motion plant killer.
- Quarantine new plants for a couple of weeks so hitchhiking pests don’t spread to your recovering plant.
And if you ever spot the early warning signs — a little wilt, a few yellow leaves — come back to the Hojadulled plant clinic. Catching trouble early is always easier than a full rescue.
Frequently Asked Questions
Can a plant recover from dying?
Yes, in most cases. If any part of the plant is still alive — green stem tissue, firm roots, or a healthy crown — it can recover with the right care: trim dead growth, check and treat the roots, repot in fresh soil, water correctly, and give it bright indirect light. New growth typically appears within 2–6 weeks.
Can a plant that looks dead be revived?
Often, yes. “Looks dead” usually means all the leaves are gone or crispy, but the roots and crown may still be alive. Do the scratch test on the stems — green underneath means life. Even a completely leafless plant can regrow from living roots. Only when stems, crown, and roots are all brown and brittle is it truly dead.
How do I know if my plant is completely dead?
Run three checks: (1) scratch the stems — no green anywhere, just brown dry tissue; (2) bend the stems — they snap like dry twigs instead of flexing; (3) inspect the roots — entirely mushy, black, or disintegrated with a foul smell. If all three fail, the plant is gone. If any one shows life, attempt the rescue.
Does sugar water help revive plants?
No — this is a myth. Plants produce their own sugar through photosynthesis; they can’t absorb it usefully through their roots. Adding sugar to soil mainly feeds bacteria and fungi, which can cause mold and make things worse. Clean water, correct watering technique, and good light are what actually revive plants.
Does baking soda help revive a dying plant?
Not really. Baking soda has mild antifungal properties against surface mildew, but it does nothing to revive dying roots or stressed tissue, and it can alter soil pH in ways most houseplants dislike. For root problems, a diluted hydrogen peroxide soak (1 part 3% peroxide to 2 parts water) is the evidence-backed option.
Can a plant regrow if it dies back completely?
If by “dies back” you mean all top growth is gone but the roots and crown are alive — yes, many plants regrow from the base. Cut the dead stems down to just above the soil, keep caring for the pot (light water, bright indirect light), and watch for new shoots. This works for many perennials and vigorous houseplants like pothos, philodendrons, and spider plants. But if the roots themselves are dead, there’s nothing left to regrow from.
Leave a Reply